Google XSS Game - Level 2
Solving Google XSS Challenge
Cross-site Scripting (XSS) is a security vulnerability that can affect web applications. It most commonly occurs when a website incorporates user input into their site without properly sanitizing it. Cross-site scripting vulnerabilities can allow attackers to run Javascript code on your HTML page when a user views it. This allows the attacker to completely change the appearance of the website, steal private data, save keystrokes, hijack the user’s session, and more.
Google has created an environment that allows you to practice finding and exploiting XSS vulnerabilities. There are 6 levels that range from easiest to hardest.
The objective of each level: to successfully execute Javascript code on the webpage that they give you. This is my solution to part two of the challenge.
Problem
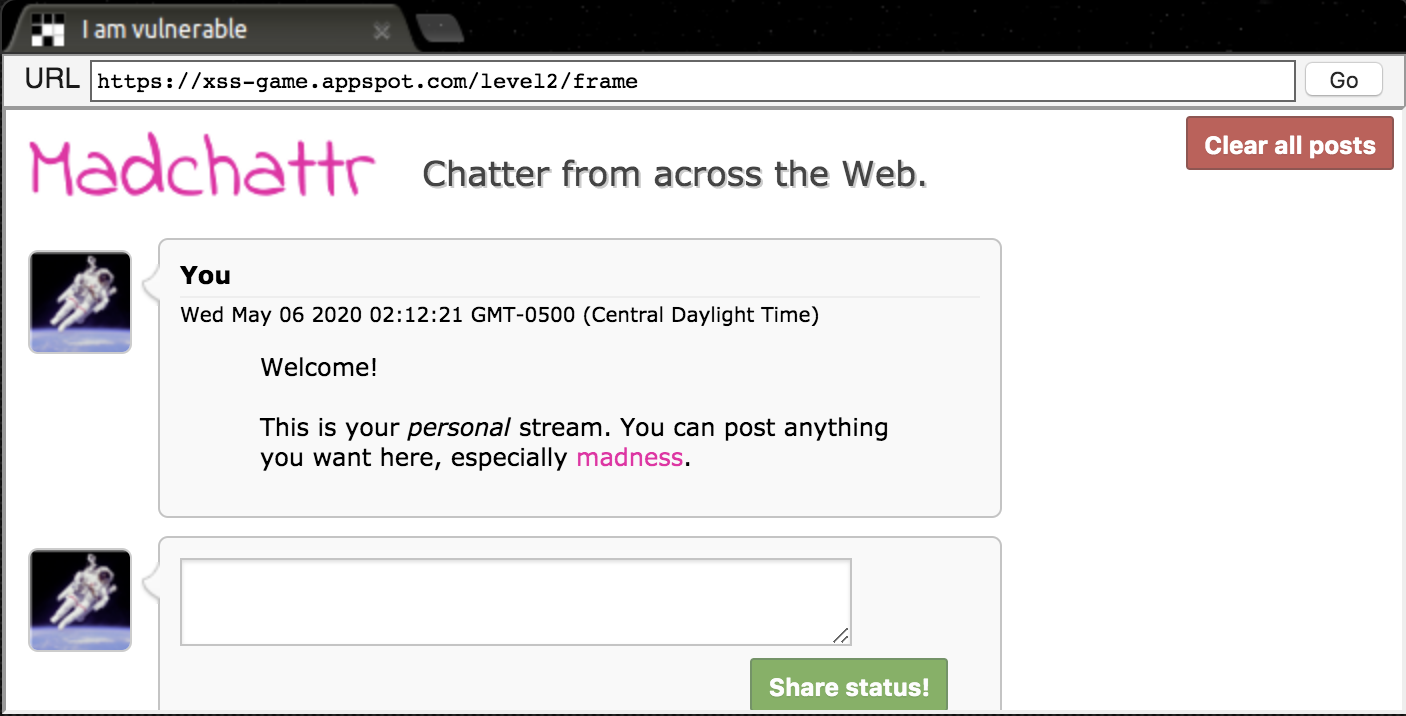
This webpage is a little different than the last one. This looks like a forum where you can post messages. Now that we’ve finished level 1, we’re pretty much experts in how cross-site scripting works. You insert the Javascript snippet into the text field, hit submit, and then it works. We win.
Let’s bring back our payload that beat the previous level, <script>alert("hi there!")</script>, and see if it has the same effect this time.
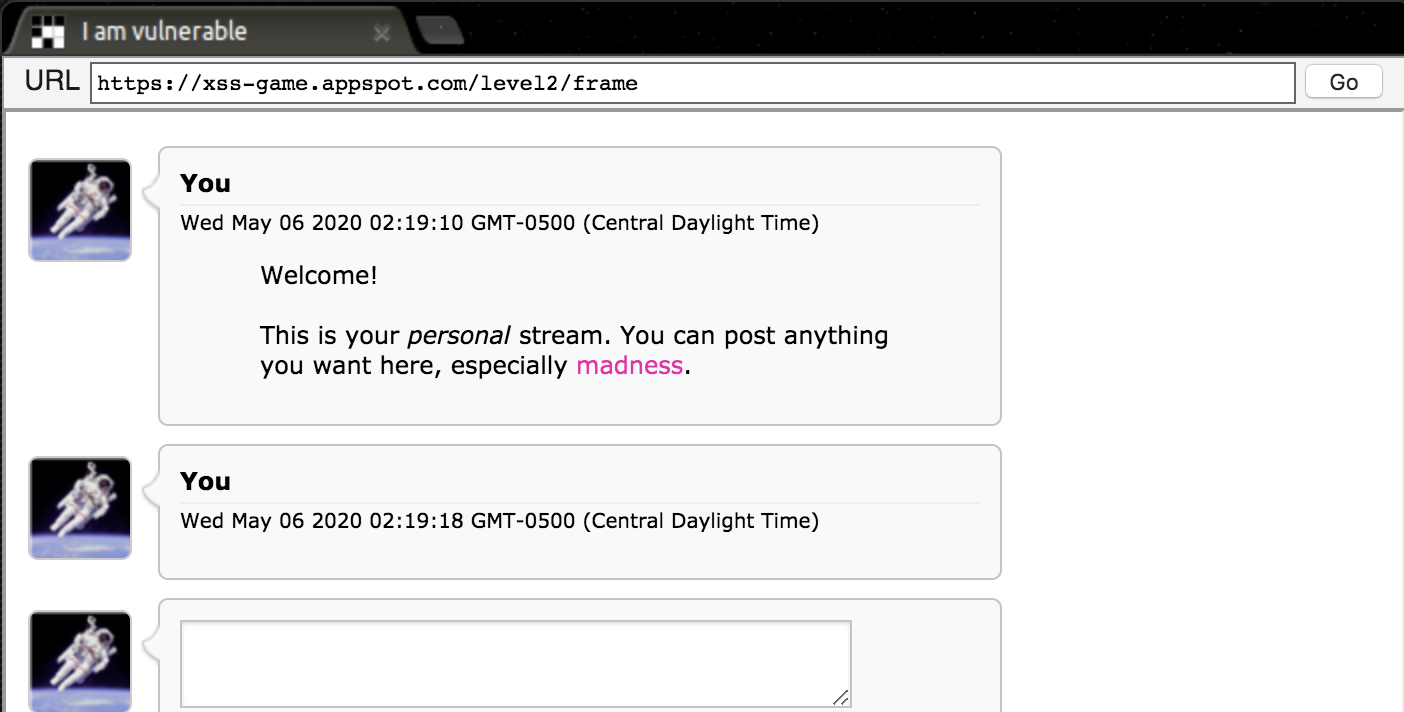
Kind of rude that it didn’t work. However, we can see that a blank message appeared on the screen! We can use the broswer development tools and take a closer look at that.

If we use Inspect Element to investigate what’s going on, we can see that our script actually did get inserted into the page! The only question is, why didn’t it execute like it did in the last level?
The difference is actually not because of how we’re inserting the payload into the website, it’s due to when the insertion is happening. In the first level, the <script> tag that we used was added in before the page loaded. That means that when we loaded that page containing the payload, it was already there waiting to be executed.
However, in level two, we’re inserting our <script> tag into the page after the initial load. These scripts will no longer run, and we have no way of running them ourselves. In order to find a solution, we need to find something that will load after the page has completed its initial load.
Enter our hero, the <img> tag! An <img> tag inserted into the page after the initial load will still try to render itself. Let’s test this with a payload of <img src="https://picsum.photos/id/237/100/150" />
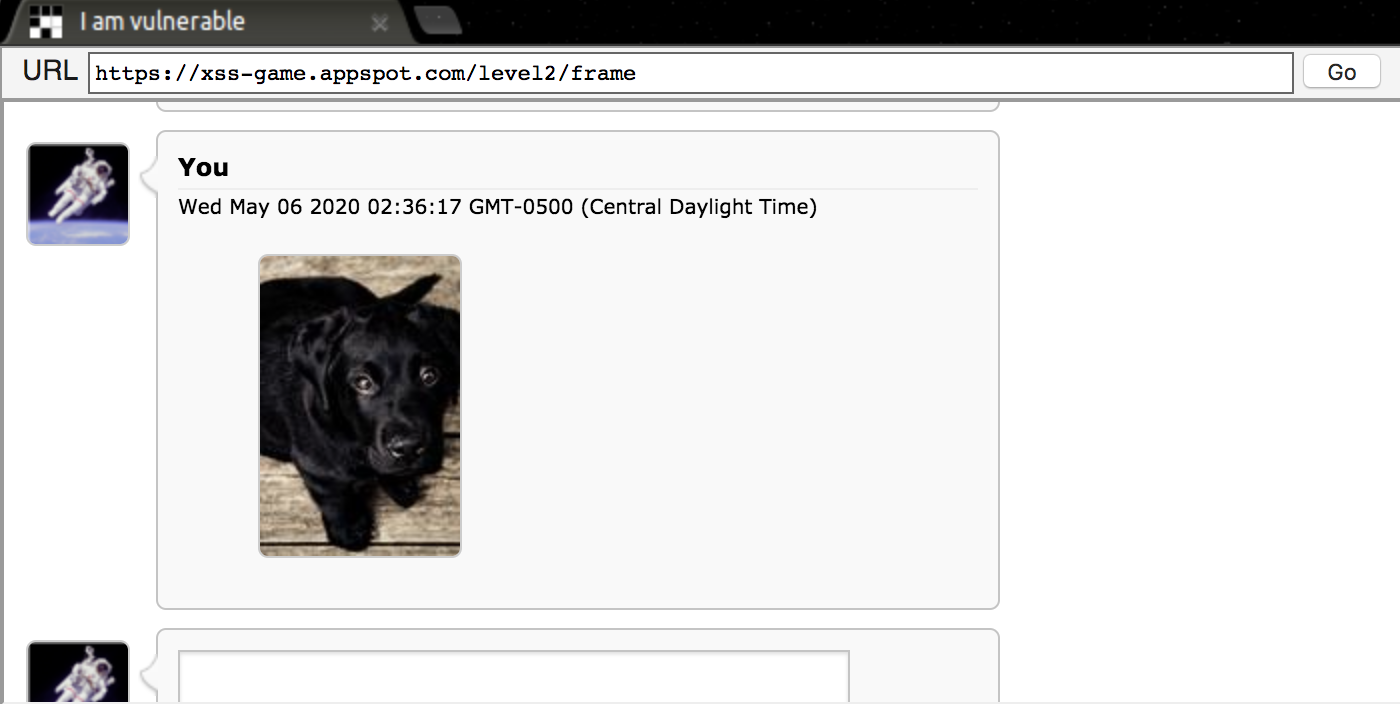
It worked! Now we know that an image inserted into the page will still load like usual, even after the initial page load. All we have left to do is to find a way of using this new knowledge to run Javascript.
Luckily for us, the <img> tag has an attribute called onerror that can be used to run Javascript code if the image fails to load. Let’s create a new payload that uses this onerror property.
<img src="swag B)" onerror="alert('hi there level two!')"/>
Notice that we give it a very fake URL for the image! If we pass in a valid URL and the image successfully loads, our onerror event will never be triggered. When we submit this payload, two things happen:
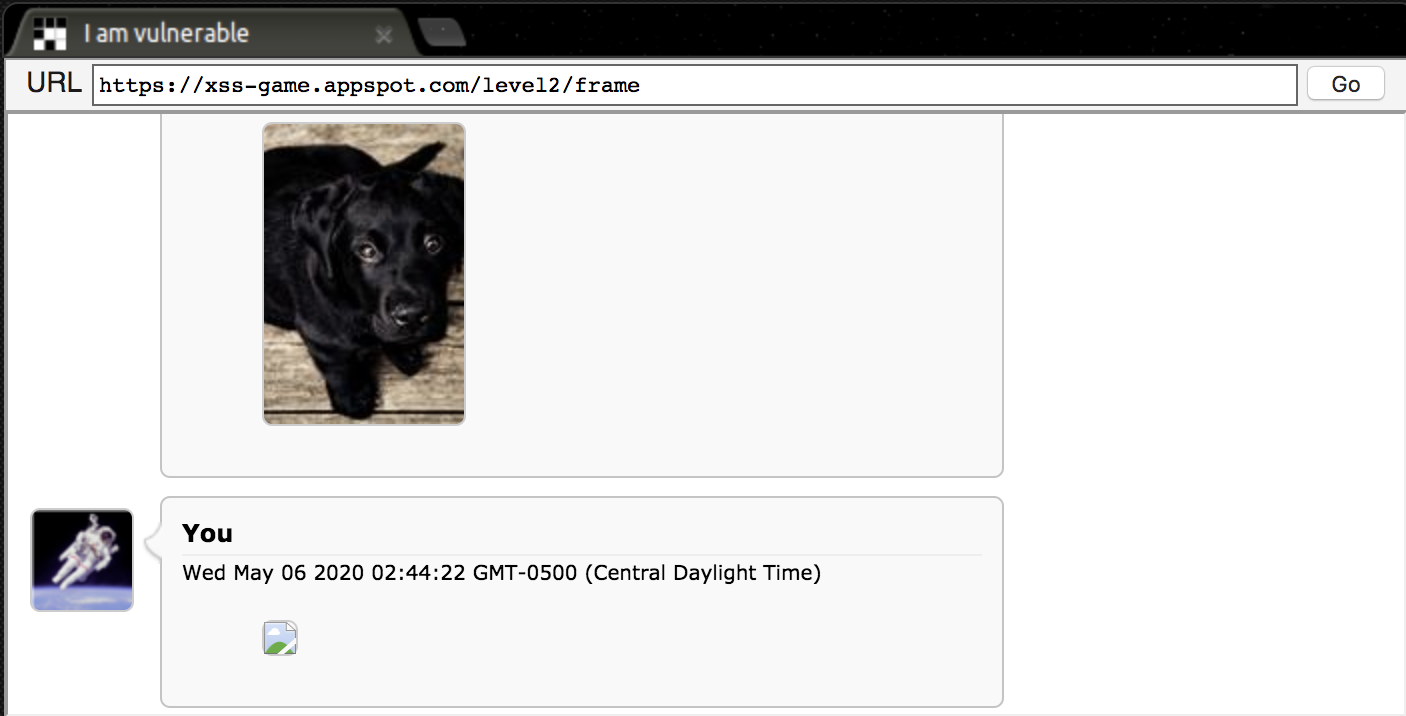
We see a new message with an image that failed to load, and…
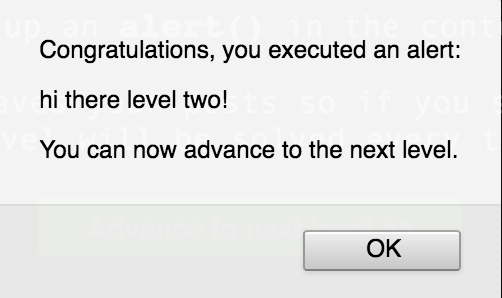
We passed this level!