Google XSS Game - Level 3
Solving Google XSS Challenge
Cross-site Scripting (XSS) is a security vulnerability that can affect web applications. It most commonly occurs when a website incorporates user input into their site without properly sanitizing it. Cross-site scripting vulnerabilities can allow attackers to run Javascript code on your HTML page when a user views it. This allows the attacker to completely change the appearance of the website, steal private data, save keystrokes, hijack the user’s session, and more.
Google has created an environment that allows you to practice finding and exploiting XSS vulnerabilities. There are 6 levels that range from easiest to hardest.
The objective of each level: to successfully execute Javascript code on the webpage that they give you. This is my solution to part three of the challenge.
Problem

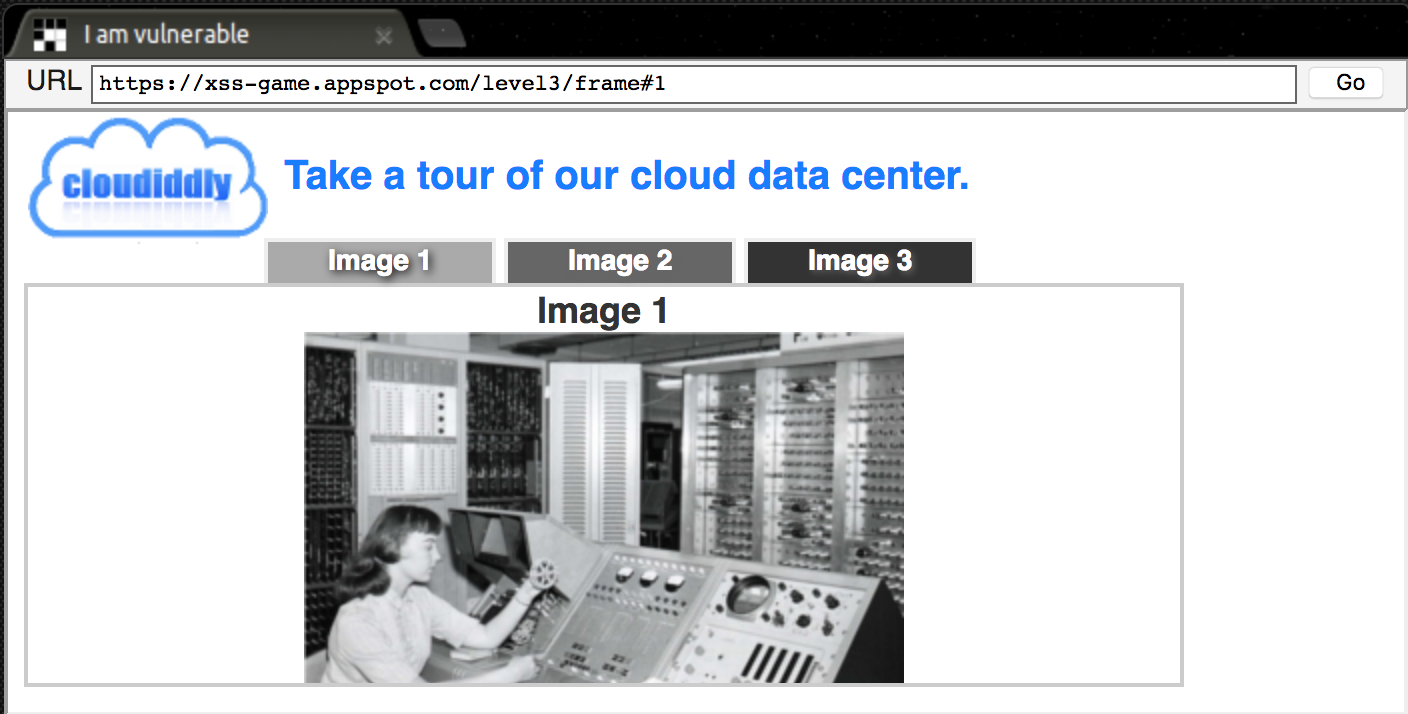
The third level gives us a webpage that lets us peruse a few different images. Unlike the last two levels, this website doesn’t give us any input fields to type in. Whenever there isn’t any obvious way to provide input to the website, it is always a good idea to check the URL of the page to see if any information is being passed in that way.
Here are the URLs for the three pages of the website:
https://xss-game.appspot.com/level3/frame#1https://xss-game.appspot.com/level3/frame#2https://xss-game.appspot.com/level3/frame#3
It looks like the only thing that changes is the final part of the URL, the # and the number following it. Let’s look at the source code and see if we can figure out how the server is using this parameter.
var html = "Image " + parseInt(num) + "<br>";
html += "<img src='/static/level3/cloud" + num + ".jpg' />";
After some digging, we find this snippet of code, which uses the value from the URL. It looks like the server is just taking this value and using it to determine which image to load. So, if we alter that part of the URL, we can control the source of the image that is added to the page!
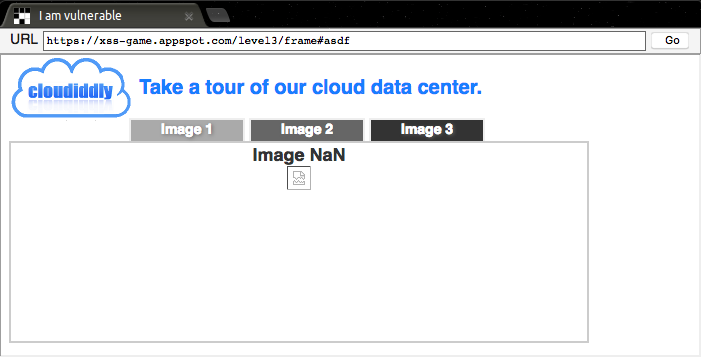
Let’s try going to the URL https://xss-game.appspot.com/level3/frame#asdf and see what happens.

All that we can see from an initial look at the webpage is that it tried to load an image and failed. Let’s use Inspect Element to see what actually happened.

Well, now we know exactly what happens with the URL parameter. It goes straight into the image src to determine which image is fetched. That’s pretty cool, but how do we use that to run Javascript on the webpage?
One idea is to revisit our solution from the previous level. We know from level 2 that if the webpage loads an <img> tag with an invalid source, we can use the onerror attribute to execute malicious Javascript code. We also know that on our current level, we can force the webpage to render an image that doesn’t load, such as <img src='/static/level3/cloudWhateverYouWant.jpg' />. Wouldn’t it be nifty if we could also add in an onerror attribute on that image?
We want to turn this:
<img src='/static/level3/cloudWhateverYouWant.jpg' />
Into this:
<img src='/static/level3/cloud' onerror="alert(1)".jpg' />
If you compare the two, you can see that we just inserted the onerror attribute after the src attribute. But how do we actually do that? Let’s look back at the source code for the website again.
html += "<img src='/static/level3/cloud" + num + ".jpg' />";
We can see that the site takes whatever we give it and appends it to the <img> string. So, what if we just try the simplest solution: enter in the missing section of our target code and see what happens.
We want the final HTML string to say <img src='/static/level3/cloud' onerror="alert(1)".jpg' />, so the missing part of our string is ' onerror="alert(1)".
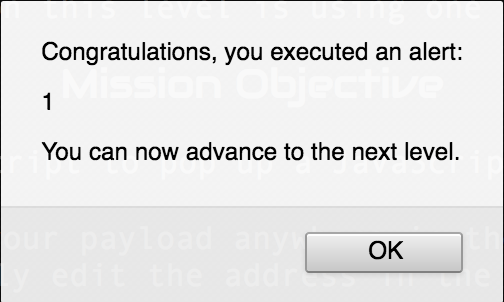
Let’s try refreshing the page with that parameter in the URL and see what happens.

The final solution was to use the URL https://xss-game.appspot.com/level3/frame#' onerror="alert(1)".
Recap
In the end, we solved this level using the same method as level two: we made the webpage attempt to load an image with an invalid source, and then executed our code through the onerror event when the image inevitably didn’t load. The only difference from last level is the method of inserting our payload.
For this level, we had to figure out how to use query parameters and read the source code to see how they are used.