Javascript Sneakers
The Intersection of Sneakers and Javascript, Sneaker Art using Javascript, CSS, and SVG
Introduction
Ever since my junior year of high school, I have been obsessed with sneakers. I don’t remember when or how exactly it happened, but somehow I ended up with more pairs of shoes than I can keep track of.
Since then, I’ve become more financially savvy and stopped buying as many shoes. However, sneakers are still a passion/hobby of mine, so whenever I want to test out a new idea, I try to make it sneaker-related.
Project 1: SVG Line Animations

This bad boy right here is a Ronnie Fieg x Asics Gel-Lyte III “Salmon Toes” sneaker. These are a pretty cool Asics collaboration, so when I decided to mess around and learn SVG line animations, this sneaker was the first model that came to mind.
In this next CodePen, you can scroll down inside of the project and watch the shoe animate itself into existence.
I could not do this effect justice by explaining it, so instead I’m linking this article that explains it very well.
This project was really cool to me because I got to take shoe images and turn them into SVG files that I could use online, which I had never done before.
Project 2: Low-Poly Art
Now that I had one solid sneaker-related project under my belt, I took my newfound image manipulation skills and put them to use on something more advanced.

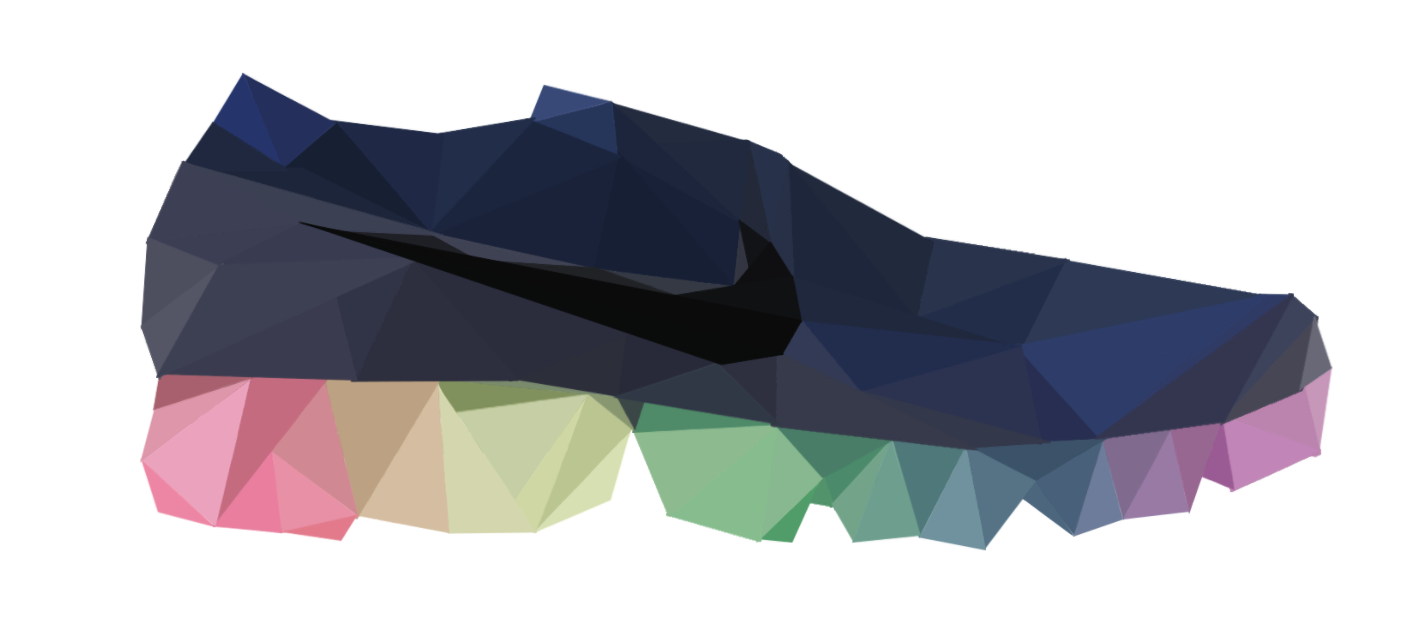
The spicy shoe pictured above is the Nike Vapormax “Be True”. I really love the design of these shoes, so I wanted to do something special for them.
Before I even wrote any code for this project, I had to sharpen my Photoshop skills. I wanted to try creating a “low-poly” effect in my image, which basically means composing the full image out of many smaller geometric shapes. In essence, I tried to recreate the profile of the sneaker using only triangles. This might be confusing to visualize (at least it was for me), so I’ll just show you.

Now, I’m no Picasso, but I thought that this was a pretty good replication of the original shoe. Most importantly, it still had the rainbow tread along the bottom, which is really the only part that matters. And as you can see, all the shapes, regardless of how complex they may be, are made of up triangles of different colors.
To create this effect, I used Photoshop to overlay triangles on the image and connect the shapes at their points. This process is rather tedious, so I will just link to this tutorial that I used to learn this technique.
Although there are definitely some rough edges and places where the shapes don’t connect quite perfectly, this was miles better than I had imagined it turning out. Although this image on its own was cool, it was definitely not the end goal. I wanted to add some kind of movement or animation for some real “wowza” factor.
The “wowza” Factor
Around this time, my friend showed me a website called Species in Pieces. The animations on this site blew my mind, and, quite conveniently, they also dealt with polygons moving in interesting ways.
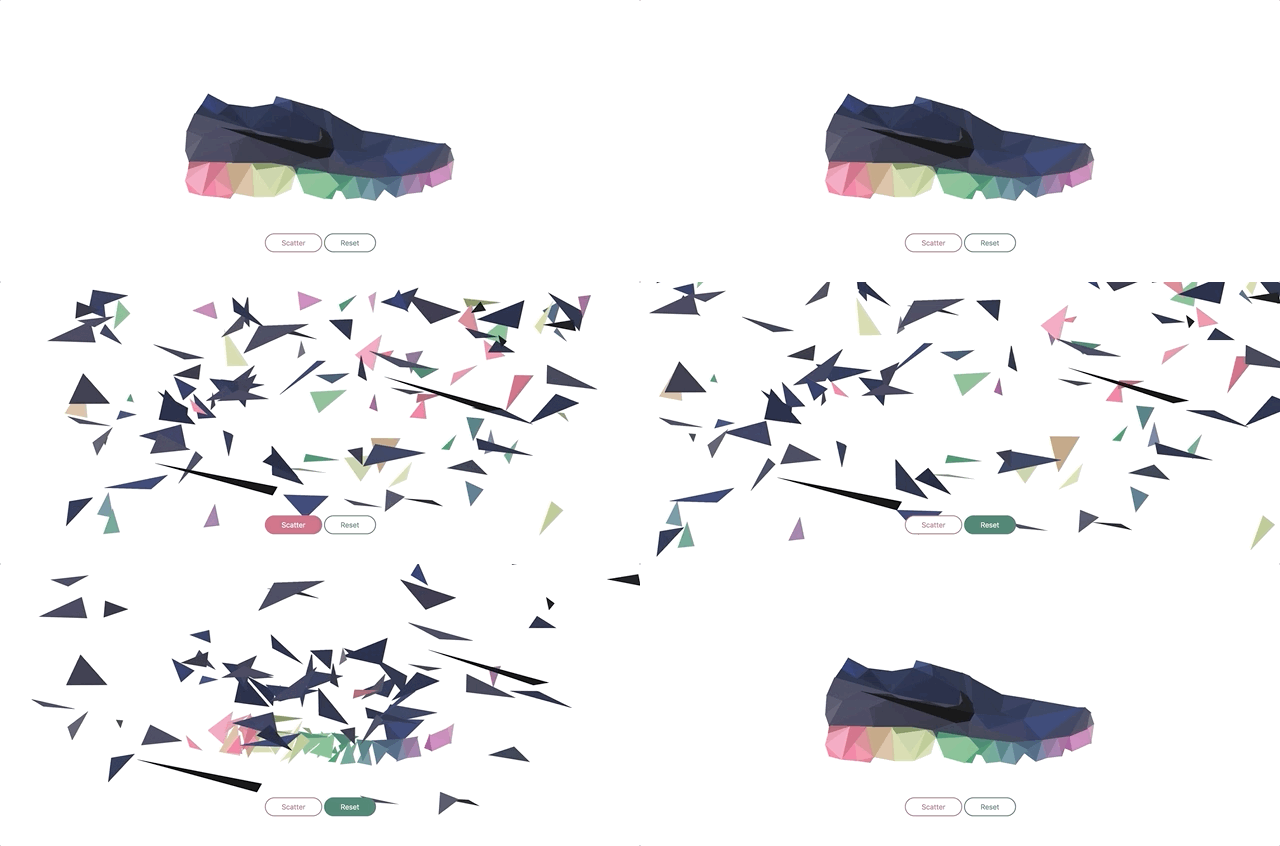
I got really caught up with the idea of these pieces coming apart and magically recreating the shape, seemingly out of thin air. So, this was the effect that I sought to emulate. In the end, I arrived at the animation that you can see below!

As you can see, it worked! The actual logic for shattering and recreating the image is actually very simple. When the “Scatter” button is clicked, each piece is assigned to a random (X, Y) coordinate on the screen. When the “Reset” button is clicked, the pieces are moved back to their original location. We add a little CSS to create a smooth movement effect, and Bob’s your uncle.
Unfortunately, due to the method I used to animate the pieces moving, it looks very choppy in Safari browsers, with the pieces seemingly teleporting around the screen. Maybe one day I’ll suck it up and learn how to use actual SVG animations, but for onw, it’s better viewed in Firefox or Chrome.
You can play around with the actual site here and view the Github repos for the first project and the second project at these links.